In this tutorial, you will learn how to create a pop-up module in WordPress without a plugin. You can show this popup when a button is clicked or after a few seconds after the visitor enters the site.
Pop-up content is completely customizable, and you can use the blocks you want without restrictions or even put a form in it.
Click on the button below to see an example of this pop-up.
Create a popup with blurred background in WordPress without plugin
Step 1.Add The Following Code to the functions.php File
In the WordPress dashboard, go to Appearance ➡ Theme File Editor and copy the following code into the theme’s functions.php file and save it.
You must create a child theme before making any changes to functions.php file. Otherwise, the applied changes will be lost after each update.
Create child theme in WordPress step by step [without plugin]
As an alternative method, you can use the Code Snippets plugin to insert your codes into WordPress.
add_action('wp_footer', function() { if (!is_admin()) {
// Put the popup code here
}});
add_action('wp_head', function() { ?>
<style>
.blur-bg {
inset: 0;
z-index: 60;
backdrop-filter: blur(0px);
-webkit-backdrop-filter: blur(0px);
position: fixed;
pointer-events: none;
transition: 200ms ease-in-out;
}
.blur-bg.active {
backdrop-filter: blur(10px);
-webkit-backdrop-filter: blur(10px);
pointer-events: all;
}
.modal {
max-height: 85%;
overflow: auto;
position: fixed;
top: 50%;
left: 50%;
box-shadow: rgba(50, 50, 93, 0.25) 0px 50px 100px -20px, rgba(0, 0, 0, 0.3) 0px 30px 60px -30px;
transform: translate(-50%, calc(-50% - 100px));
opacity: 0;
z-index: 100;
background: rgba(255, 255, 255, 0.9);
border-radius: 3px;
width: min(450px , 90%)
transition: 200ms ease-in-out;
pointer-events: none;
}
.modal.active {
transform: translate(-50%, -50%);
opacity: 1;
pointer-events: all;
}
.modal-header {
padding: 5px 15px 0px 15px;
margin: 0px 0px -12px 0px;
display: flex;
justify-content: space-between;
align-items: center;
}
.modal-title {
font-size: 1.2rem;
}
.modal .close {
cursor: pointer;
}
button.close-button {
cursor: pointer;
border: none;
outline: none;
background: none;
font-size: 1.5rem;
color: #9e9e9e;
padding: 0;
transition: all 0.5s ease;
margin-right: -5px;
}
button.close-button:hover {
color: black;
}
.modal-body {
padding: 10px 15px;
}
.modal.hiden {
display: none;
}
</style>
<script>
class redPishiPopUp {
constructor(openType, Pclass, id) {
this.id = id;
this.Pid = "a"+id;
this.pop = '<div class="modal hiden" id="'+ this.Pid +'"> <div class="modal-header" > <div class="modal-title" ></div> <button class="close-button close" > × </button> </div> <div class="modal-body" ></div> </div>';
document.body.insertAdjacentHTML("beforeend", this.pop);
this.bg = '<div class="blur-bg close"></div>';
if ( !document.querySelector('.blur-bg') ) { document.body.insertAdjacentHTML("beforeend", this.bg); }
this.Pclass = Pclass;
this.Type = openType;
if (this.Type == "click" ) {
this.btnPopShow();
} else if (this.Type == "time" ) {
this.showTimePop();
}
}
closePopUp(e) {
setTimeout( () => {
document.querySelector("#"+this.Pid+".active")?.classList.remove("active");
document.querySelector(".blur-bg").classList.remove('active');
} , e * 1000 ); }
btnPopShow(){
document.querySelectorAll("."+this.Pclass).forEach((bot) => {
bot.addEventListener("click", ()=>{
document.querySelector("#"+this.Pid)?.classList.remove("hiden");
setTimeout( () => {
document.querySelector("#"+this.Pid).classList.add("active");
this.settings();
}, 100)
})
});
}
showTimePop(){
let storage = sessionStorage.getItem(this.Pid) ? sessionStorage.getItem(this.Pid) : 0;
if (storage > 1 ) return;
setTimeout( () => {
document.querySelector("#"+this.Pid)?.classList.remove("hiden");
} , 1000 );
setTimeout( () => {
document.querySelector("#"+this.Pid).classList.add("active");
this.settings();
sessionStorage.setItem(this.Pid, parseInt(storage) + 1);
} , this.Pclass * 1000 );
}
settings(){
const observer = new MutationObserver(list => { this.closePopUp(6); observer.disconnect();});
observer.observe(document.querySelector("#"+this.Pid+".active .modal-body"), {attributes: true, childList: true, subtree: true });
[...document.querySelectorAll(".close")]?.forEach( e => { e.addEventListener("click", e => { this.closePopUp(0) }) }, { once: true });
document.querySelector(".blur-bg").classList.add('active');
document.body.addEventListener('click', e => {
if (!document.querySelector('.modal.active')?.contains(event.target)) {
this.closePopUp(0);
}}, { once: true })
}
}
</script>
<?php });
add_shortcode( 'popup', 'popup_func' );
function popup_func( $atts ) {
$atts = shortcode_atts( array(
'type' => 'time',
'open' => '3',
'content' => '111',
), $atts, 'popup' );
$popup ='<script>new redPishiPopUp("'. $atts["type"] .'", "'. $atts["open"] .'", "'. $atts["content"] .'");</script>';
$content = (!get_post_status($atts["content"])) ? "reusable block not found!" : apply_filters( 'the_content', get_post( $atts["content"] )->post_content);
$insertContentScript = '<script>document.querySelector("#a'.$atts["content"].' div.modal-body").innerHTML = `'.$content.'`; </script>';
return "{$popup}{$insertContentScript}";
} Step 2.Create pop-up content
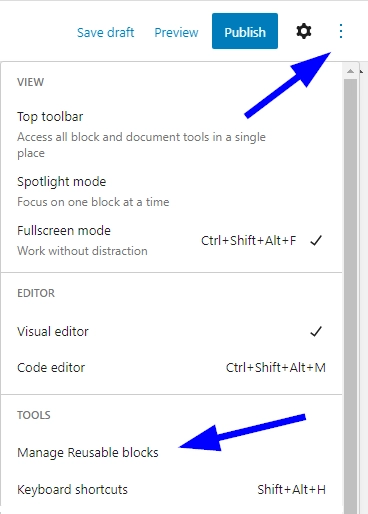
Open a post or page and select Manage Reusable blocks from the three-dot menu.
On this page, create new reusable blocks and design your pop-up content using the desired blocks.
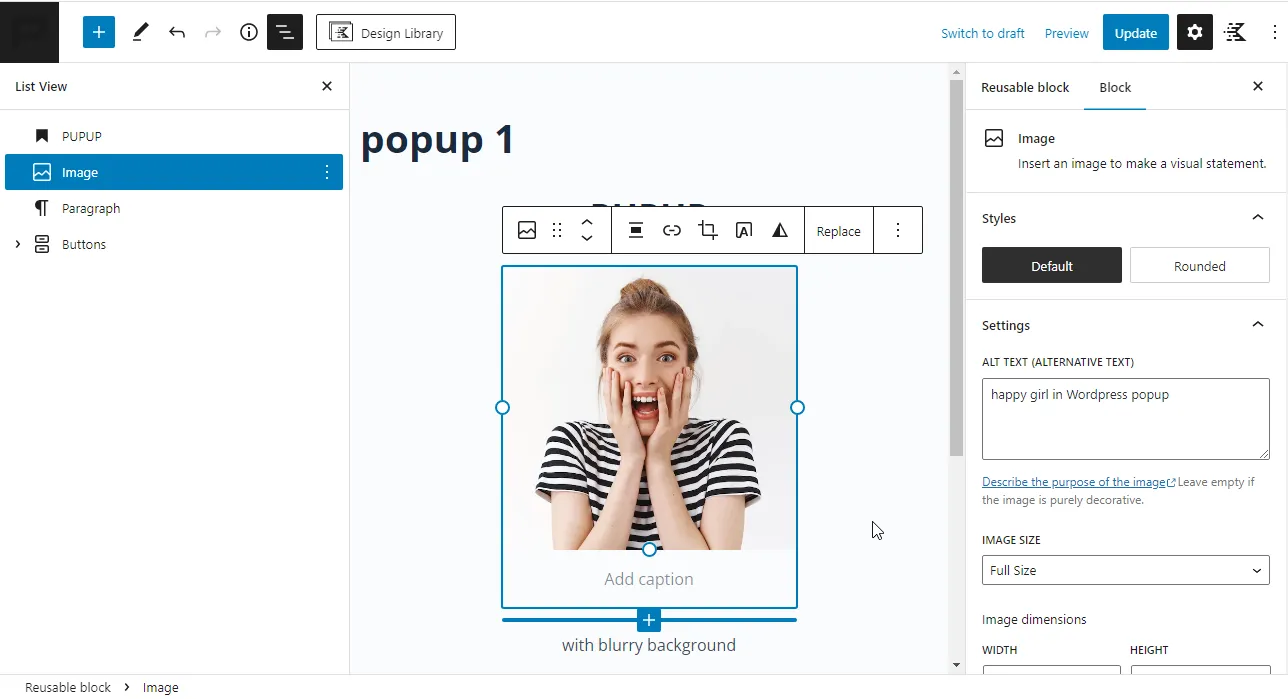
If you want to add a close button to your popup, create a button and assign a “close” class to it.
You may also like:
WordPress login popup without plugins
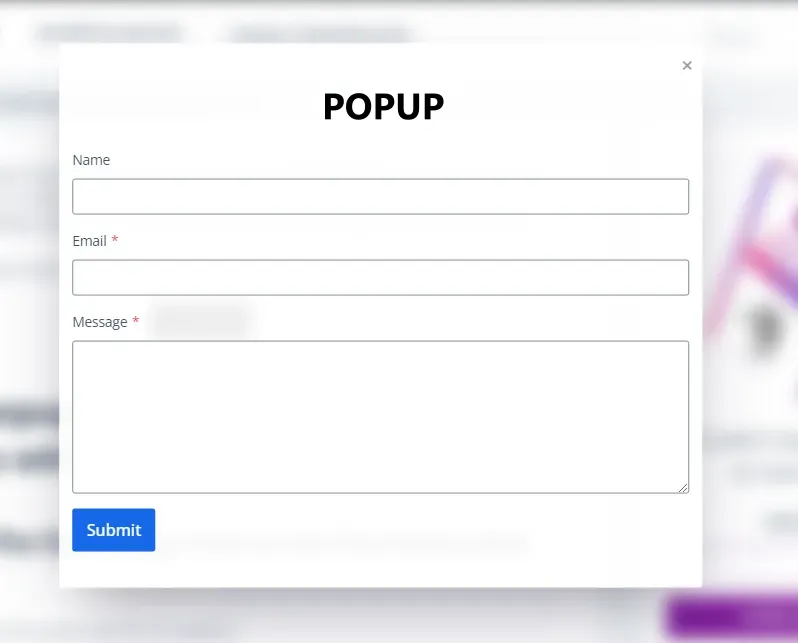
Create a popup form
If you want to create a pop-up form, just add the form block (e.g., contact form 7 block) to the reusable block. The pop-up automatically detects the submission of the form and will be closed.
After finishing the reusable block design, save it and get its ID.
Step 3.Add popup shortcode
At this stage, you must put the code of each popup in the “// Put the popup code here” section of the code of step one.
Code for opening popup on button click
For pop-ups that open by clicking, use the following code:
echo do_shortcode( '[popup type="click" open="pop-open" content="3593"]' );type: should be on click.
open: The class of button or buttons that you want to open the pop-up by clicking on them.
content: The Reusable block ID that you created in step two.
Code for open popup after 10 seconds
For pop-ups that open after a short period of time, use the following code:
echo do_shortcode( '[popup type="time" open="10" content="35911"]' );type: should be on time.
open: The number of seconds after which the pop-up will be displayed.
content: The Reusable block ID that you created in step two.
Step 4.Show pop-ups on desired pages
To display pop-ups on desired pages, we can use WordPress conditional tags. Read more about conditional tags here:
How to add PHP code in WordPress [without plugins]
Displaying Pop-up on WooCommerce pages
Use the following code to display a pop-up on the shop page, product pages and product category pages:
if ( is_woocommerce() || is_shop() || is_cart() || is_checkout() ) {
// echo do_shortcode( '[popup type="time" open="2" content="35911"]' );
}
Displaying Pop-up on posts
Use the following code to display a pop-up on blog posts:
if ( is_single() && !is_woocommerce() ) {
// echo do_shortcode( '[popup type="time" open="2" content="35911"]' );
}
Displaying Pop-up on some pages
Use the following code to display a pop-up on favorite pages:
if ( is_page(array( "page id1" , "page id2")  ) {
// echo do_shortcode( '[popup type="time" open="2" content="35911"]' );
}
If this article is difficult for you to read in text, you can watch the video version below.

OMG, this topic makes my day! Thank you so much. This code worked!