Saving emails into WordPress database allows you to have an archive of the emails and easily search through them when needed.
Additionally, you can quickly notice if any emails are not being delivered or if there are any errors in the sending process and you never lose any important massage from your users.
Save All Form Submissions Data in WordPress without plugins
In this tutorial, you will learn how to store submitted forms in the WordPress database. It doesn’t matter if you have used Contact Form 7, WPForms, Elementor, or any other form builder, this method will work for all plugins.
How to make a contact form in WordPress without plugins
In the WordPress dashboard, go to Appearance ➡ Theme File Editor and copy the following code into the theme’s functions.php file and save it.
You must create a child theme before making any changes to functions.php file. Otherwise, the applied changes will be lost after each update.
Create child theme in WordPress step by step [without plugin]
As an alternative method, you can use the Code Snippets plugin to insert your codes into WordPress.
/*
* Save Form Submissions in Database by WPCookie
* https://redpishi.com/wordpress-tutorials/save-form-in-database/
*/
function email_post_type() {
$labels = array(
'name' => _x( 'Emails', 'Post Type General Name', 'redpishi_com' ),
'singular_name' => _x( 'Email', 'Post Type Singular Name', 'redpishi_com' ),
'menu_name' => __( 'Emails', 'redpishi_com' ),
'name_admin_bar' => __( 'Email', 'redpishi_com' ),
'search_items' => __( 'Search Emails', 'redpishi_com' ),
);
$args = array(
'label' => __( 'Email', 'redpishi_com' ),
'description' => __( 'Email information page.', 'redpishi_com' ),
'labels' => $labels,
'supports' => array( 'title', 'editor'),
'public' => false,
'show_ui' => true,
'show_in_menu' => true,
'menu_position' => 5,
'menu_icon' => 'dashicons-email-alt2',
'show_in_admin_bar' => false,
'exclude_from_search' => true,
'publicly_queryable' => false,
'map_meta_cap' => true,
'capability_type' => 'page',
'capabilities' => ['create_posts' => false,],
);
register_post_type( 'email', $args );
}
add_action( 'init', 'email_post_type', 0 );
/*
* Save emails that failed to send
* */
add_action( 'wp_mail_failed', function ( $wp_error ) {
$subject = $wp_error->error_data["wp_mail_failed"]["subject"] .' - Failed';
$message = $wp_error->error_data["wp_mail_failed"]["message"];
$post_data = array(
'post_title' => $subject,
'post_content' => $message,
'post_status' => 'publish',
'post_type' => 'email',
);
$post_id = wp_insert_post( $post_data );
} , 10, 1 );
/*
* Save emails that have been sent successfully
* */
add_action( 'wp_mail_succeeded', function ( $mail_data ) {
$subject = $mail_data["subject"] .' - Succeeded';
$message = $mail_data["message"];
$post_data = array(
'post_title' => $subject,
'post_content' => $message,
'post_status' => 'publish',
'post_type' => 'email',
);
$post_id = wp_insert_post( $post_data );
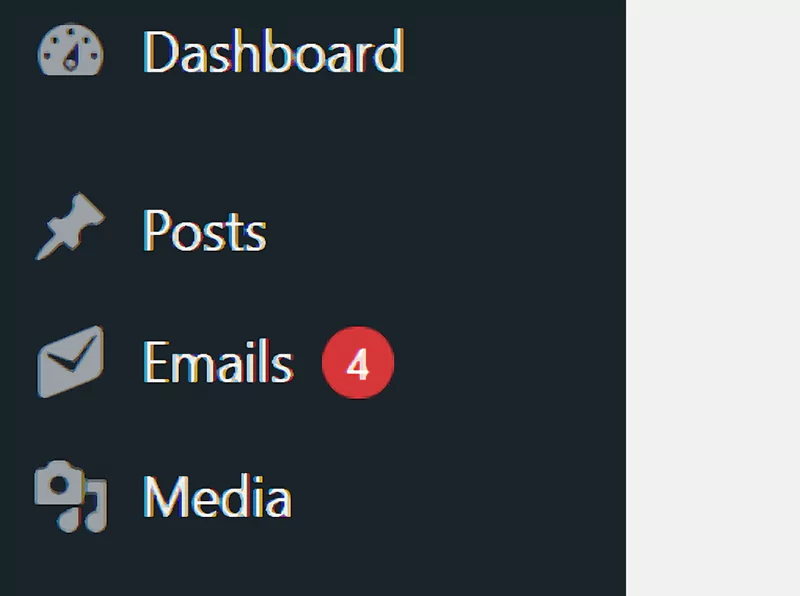
} );After activating the above code, an additional option of “Email” will be added to the WordPress dashboard, and from now on, all sent emails will be visible there.
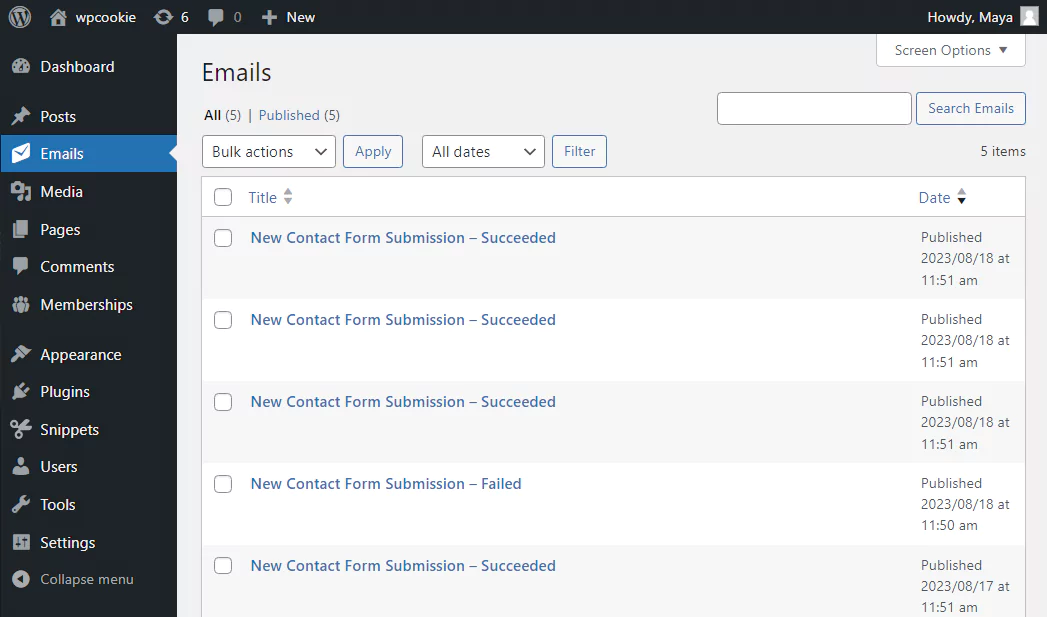
Next to the title of emails that have been successfully sent, the word “Succeeded” is written. And next to the title of emails that have failed to be sent, the word “Failed” is written.
If you don’t want the successfully sent emails to be stored in the database, you can find the following section in the code and delete it:
/*
 * Save emails that have been sent successfully
 * */
add_action( 'wp_mail_succeeded', function ( $mail_data ) {
	$subject = $mail_data["subject"] .' - Succeeded';
	$message = $mail_data["message"];
	$post_data = array(
		'post_title' => $subject,
		'post_content' => $message,
		'post_status' => 'publish',
		'post_type'	 => 'email',
	);
	$post_id = wp_insert_post( $post_data );
} );
If this article is difficult for you to read in text, you can watch the video version below.
